Auto-sync Mobile ID users with your access control system
To avoid manually keeping the user list in Mobile ID Manager up-to-date, you can set up Auto-sync. Then, the user list is regularly synchronized with user data exported as a CSV file from your access control system. This means:
- New users are added and invited.
- Existing users whose data has changed will be updated.
- Existing users not included in the CSV file will be deleted and will be notified via e-mail.
- Users with status Reset will remain unchanged.
Requirements
Your access control system needs to meet the following requirements:
- Support regular automated CSV exports of the user data required by Mobile ID Manager
- Run on a Windows platform with Windows Task Scheduler installed. This tool is used to perform the automated imports of the CSV file into Mobile ID Manager.
Setup
Set up CSV file export from access control system
-
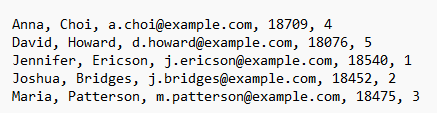
Set up your access control system to regularly export a CSV file that contains the following columns of user data in the given order:
- First name
- Last name
- E-mail address
-
ID
-
Sync ID (optional, but recommended):
Here's an example CSV file (including the optional sync ID column):
-
Name the file mobile-id-users.csv and export it to the Home directory of the logged-in user.
If you use a different name or location, you need to later change the default settings when setting up the CSV file import in Windows Task Scheduler (see next chapter).
Set up CSV file import to Mobile ID Manager using Windows Task Scheduler
- Log in to your admin account in Mobile ID Manager.
-
If you have multiple projects, make sure the desired one is open.
How do I switch projects?
Click the arrow next to the project name at the top.

-
In the Settings section, turn on the option Enable Auto-sync.
-
Click Download task config.
An XML file named autosync_<your-project-name> is downloaded.
-
Open Windows Task Scheduler (preinstalled by default on most Windows platforms).
-
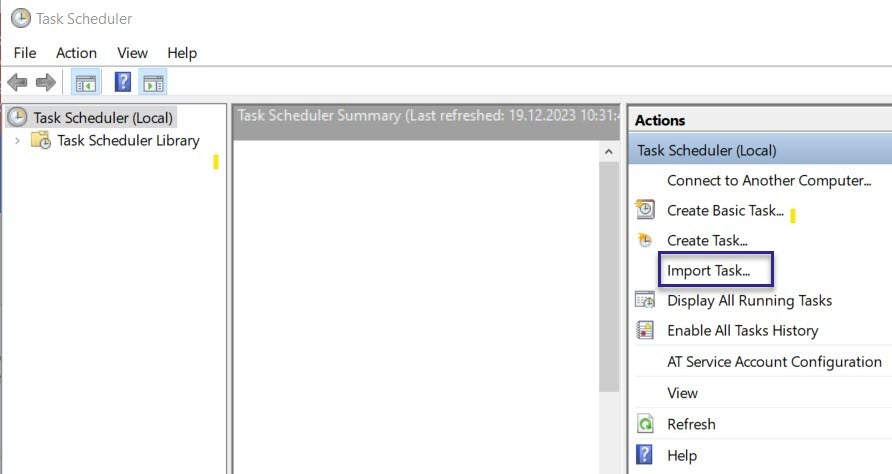
In the Actions panel on right, click Import Task... and select the XML file.
-
As an option, you can change the default settings in the task config:
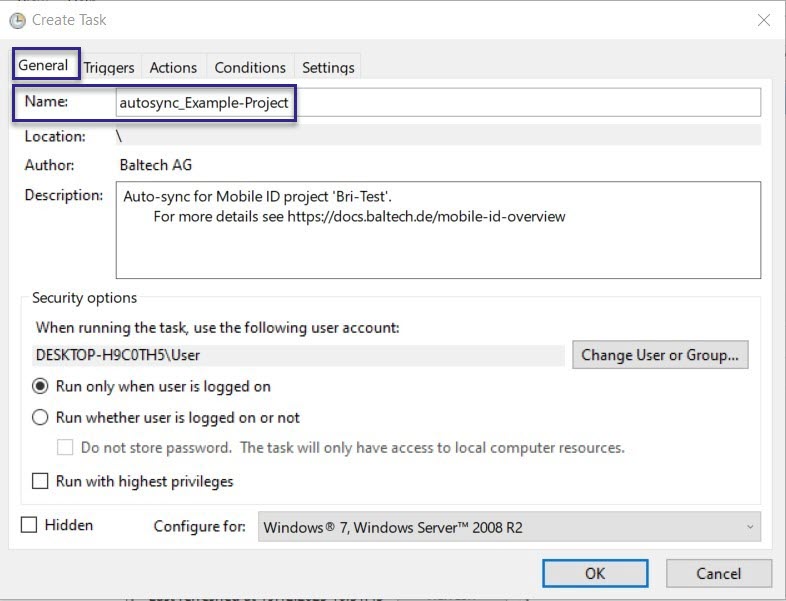
- In the General tab, you can change the Name of the task.
By default, it's the name of the XML file.
- In the Triggers tab, you can change the frequency of task execution.
By default, it's executed once per hour.

-
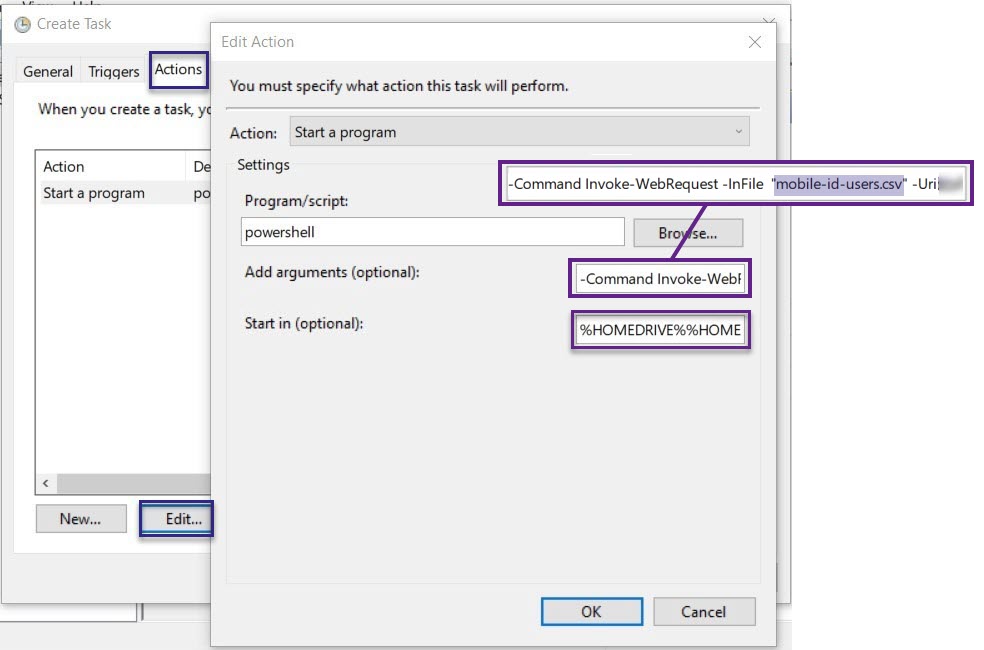
In the Actions tab, you can change the name and location of the CSV file to import.
By default, the task expects a file named mobile-id-users.csv, located in the Home directory of the logged-in user.- You can change the file name by editing the parameter of the InFile argument in the Add arguments field.
- You can change the location in the Start in field.
- In the General tab, you can change the Name of the task.
-
Click OK.
The task is created, and Auto-sync is now active. You can view the task in the Task Scheduler Library.
Test Auto-sync
If you don't want to wait until Task Scheduler performs the task for the first time, you can test Auto-sync immediately by manually running the task.
To run the task:
- In the Task Scheduler Library, select the task.
-
In the Actions panel on the right, click Run.

-
If task execution was successful, you'll now see a blue info box in the Settings section of Mobile ID Manager, displaying the date and time of the completed Auto-sync.
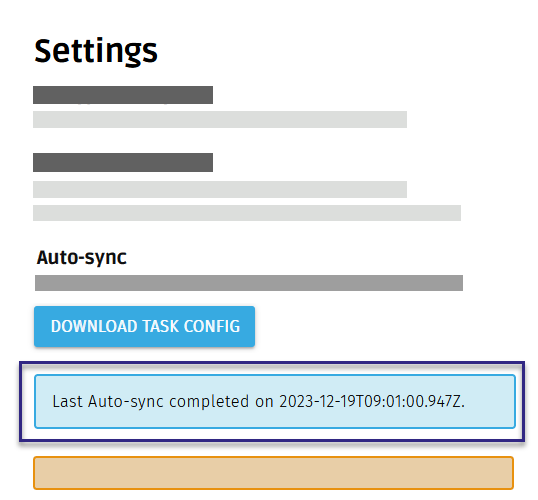
If task execution failed due to errors in the CSV file, you'll receive an e-mail (see next chapter).
Error reporting
If, at any time, an exection of the Auto-sync task fails due to errors in the CSV file, admin marked as official contact will receive an e-mail with the errors detected. Here's an example:

Change settings in task config
To change settings in the task config later, i.e. task name, execution frequency or filepath, double-click the task in the Task Scheduler Library and make the required changes in the dialog.
Stop Auto-sync
To stop Auto-sync you can diable or delete the task in Task Scheduler.
To disable or delete the task:
- In the Task Scheduler Library, select the task.
-
In the Actions panel on the right, click Disable to temporarily disable the task, or click Delete to permanently delete it.
