Create configuration with Autoread Wizard
To define the behavior of your readers, you need a configuration. If you want the reader to autonomously read a number (i.e. use Autoread mode) we recommend you use Autoread Wizard as described below.
Set up configuration
-
Open the latest version of BALTECH ConfigEditor.
Download it here as part of BALTECH ToolSuite. -
Click Start Autoread Wizard.

-
Select your Use Case and click Next.

-
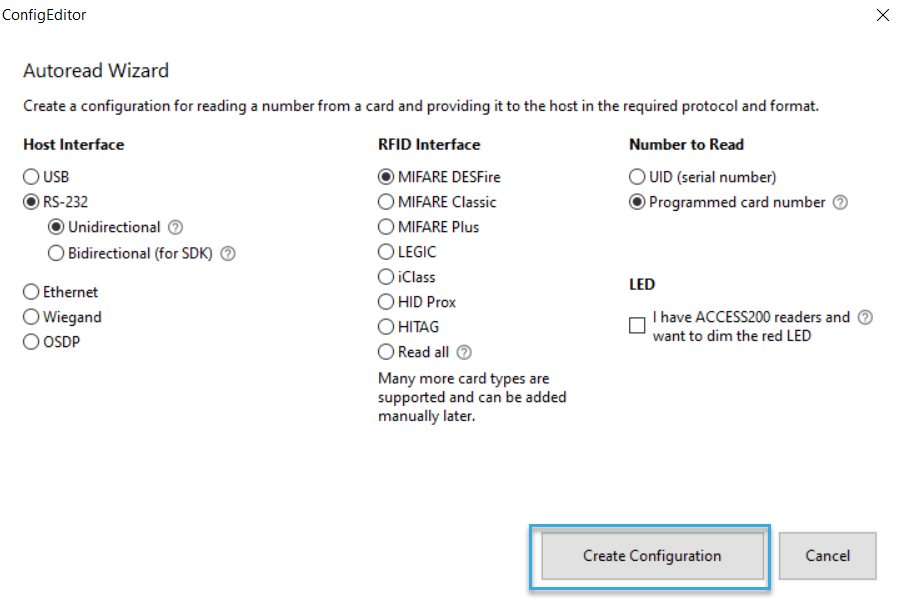
In the Host Interface section, select your host interface/protocol and click Next.
-
In the RFID Interface section, select what you want to read:
BALTECH Mobile ID and/or a certain card type. -
Select if you want to read the card's UID (serial number) or a programmed card number (PCN).
This option is greyed out for card types that don't support PCNs. -
Click Create Configuration.
-
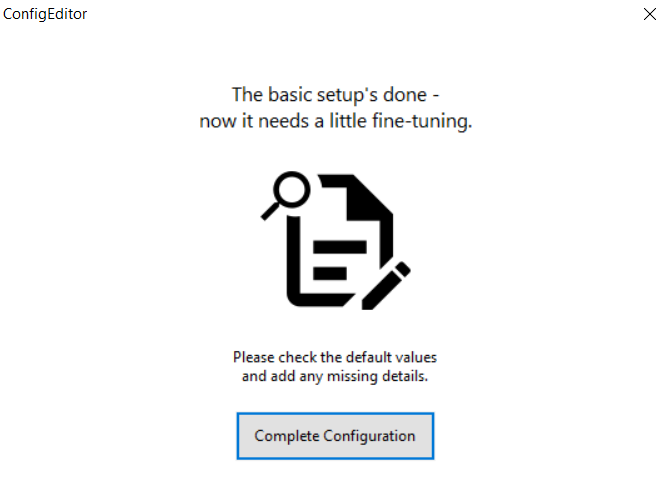
ConfigEditor now sets up your configuration. Once this is done, click Complete Configuration.
Complete configuration
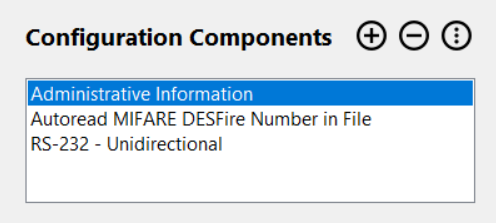
BALTECH configurations consist of several components. Autoread Wizard puts together the components needed for your project. Typically, you'll have the following components:
- Administrative Information with details for managing the configuration
- An Autoread component, i.e. an RFID interface configuration for autonomously scanning for your card type and reading the desired number
-
A host interface component that defines the communication with your host system
To complete the configuration:
-
Enter project-specific details as listed in the left column of Your Workflow. To do so, use the project info you've collected. If you're unsure, please refer to your card issuer and/or host system provider.
Tip: Clicking an entry will highlight the respective setting.

-
Review and adjust the default settings in all components.
- In Administrative Information make sure you set the options Support Legacy Firmware Versions and Package with Specific Firmware Version as needed.
- Conversion options for UIDs are described here
-
You can add an Autoread component for another card type, e.g. because your card type wasn't listed in the wizard or you need to support multiple card types.
Set password (optional)
As an option, you can set a password to encrypt the BALCFG file. We highly recommend this in the following cases:
- You want to send the BALCFG file to someone else for further editing.
- You store the BALCFG file on a server where unauthorized users may access it.
To set a password, click File > Set Password. Please transmit the password via a different channel than the configuration, e.g. via SMS or on the phone.
For productive deployment, please only hand out the deployable file that is exported when you release a configuration version. This file is end-to-end-encrypted and thus doesn't need to be protected with a password.
Test it
You can now start testing the configuration.