Connect to a PC/SC reader via RDP
When connecting via RDP to a reader configured for PC/SC, make sure you enable Smart cards or Windows Hello for Business. Changing group policies is usually unnecessary; we recommend you verify them if the connection fails.
Establish RDP connection
- Plug the reader into the RDP client.
-
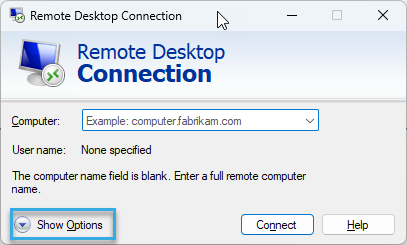
Open Remote Desktop Connection and click Show Options.
-
In the Local Resources tab, under Local Devices and Resources, click More....

-
Enable Smart cards or Windows Hello for Business and confirm.

-
Click Connect.
The reader is now available on the RDP server.
Access via USB-HID
To use a reader configured for PC/SC as a USB-HID device within the RDP session, follow the instructions for USB device redirection. Then, however, you can no longer access the reader via PC/SC.
It doesn't work? Verify RDP server group policies
Smart card redirection must be enabled on the RDP server - this is enabled by default. If you encounter connection issues, check the group policy settings.
To check the group policies:
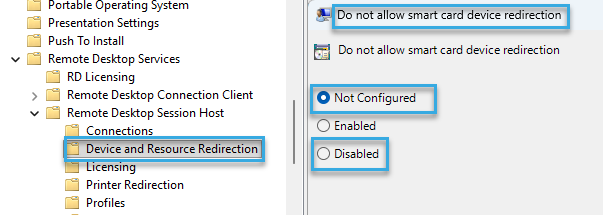
- On the RDP server, open Group Policy Editor.
To do so, type gpedit into the Windows search box. - Go to Computer Configuration > Administrative Templates > Windows Components > Remote Desktop Services > Remote Desktop Session Host > Device and Resource Redirection.
- Open Do not allow smart card device redirection.
- Make sure it's set to Not Configured or Disabled.
-
If you've made changes, reboot the host computer.
This reboot is needed so your changes take effect